We understand how this process can be a bit overwhelming on your own.
This guide will break down roof types, their respective options and our best practices for each.
If you'd like help at any point, just give us a call at (720) 370-8882 or schedule a consultation.
Here is our recommended flow:
1) Define your roof type.
2) Browse different styles of rack systems.
3) Check certain specs.
4) When to seek an expert.
Roof Types & Crossbars
Crossbars are the most common and easiest way to mount a rooftop tent.
They are sold in systems containing the bars themselves, and the junction mechanism that attaches the bars to the roof.
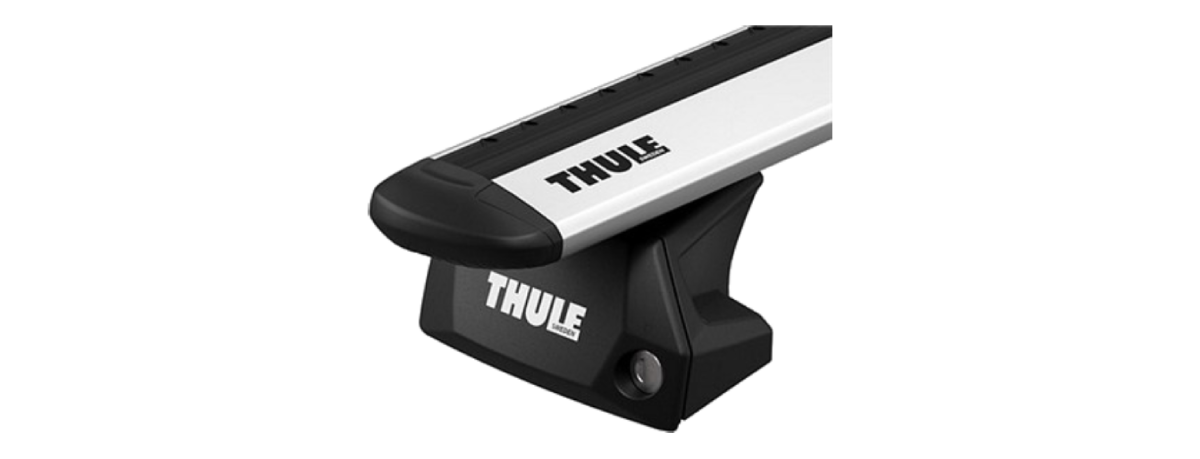
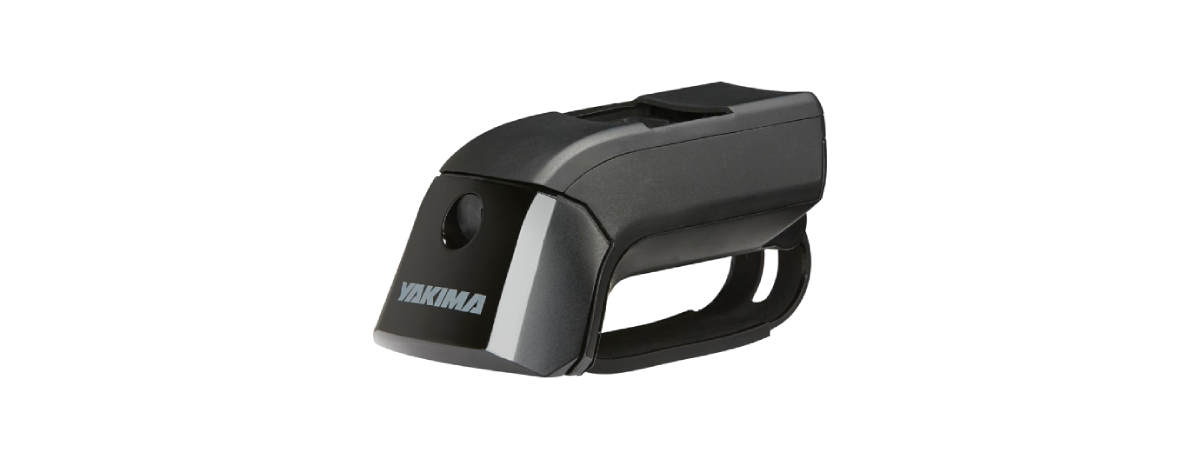
Below are common roof setups accompanied by an example crossbar junction for illustrative purposes.
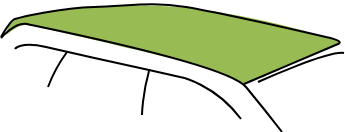
Bare Roof
Search for styles: Bare Roof Mount Rack Systems
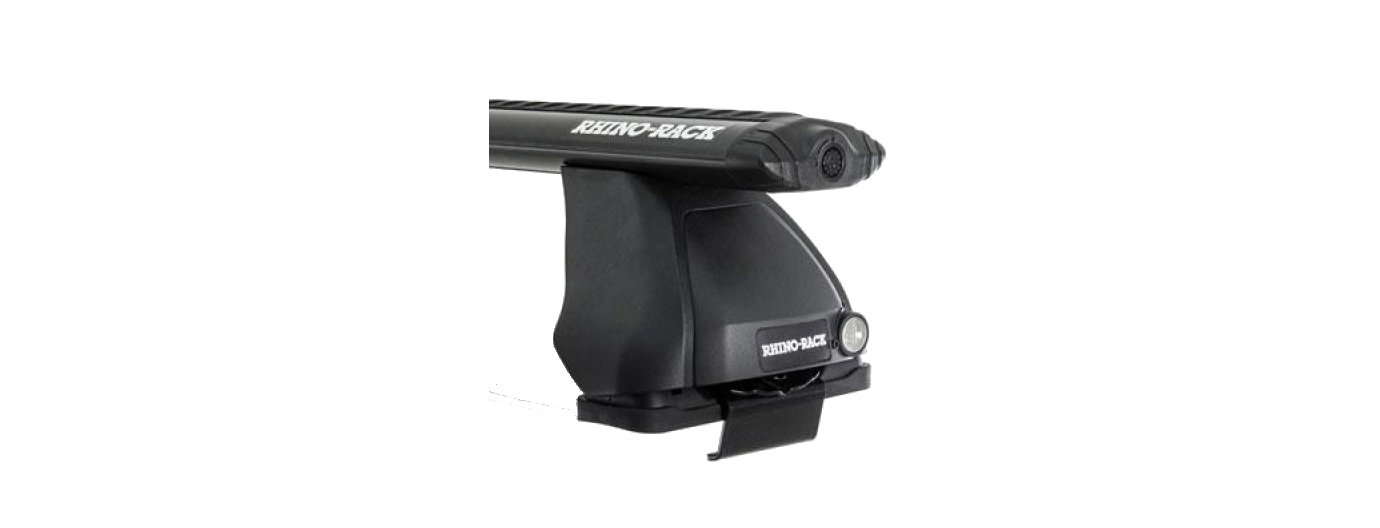
Tracks / Channels
Search for styles: Roof Racks for Vehicles with Tracks

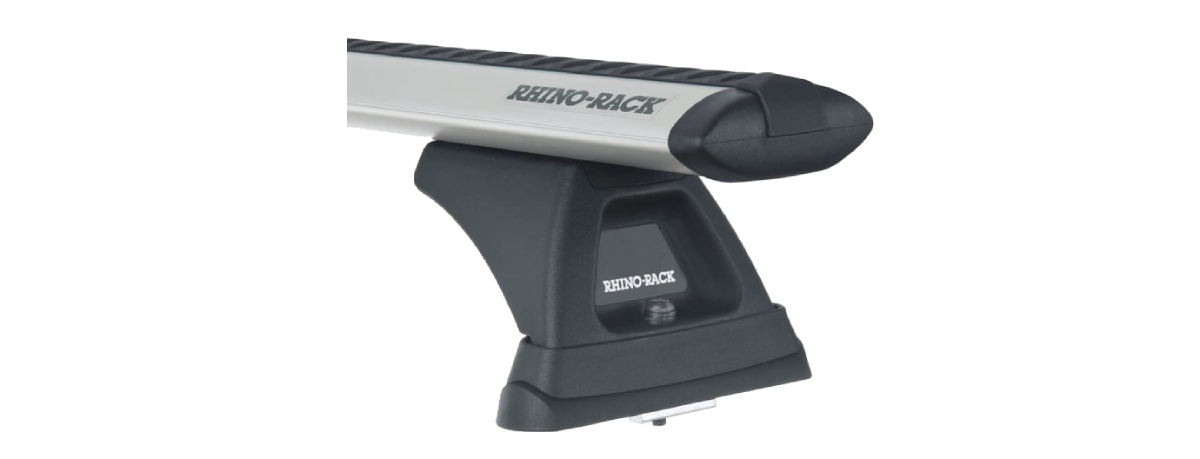
Flush Rails
Search for styles: Roof Racks for Vehicles with Flush Side Rails

Raised Rails
Search for styles: Roof Racks for Vehicles with Raised Side Rails

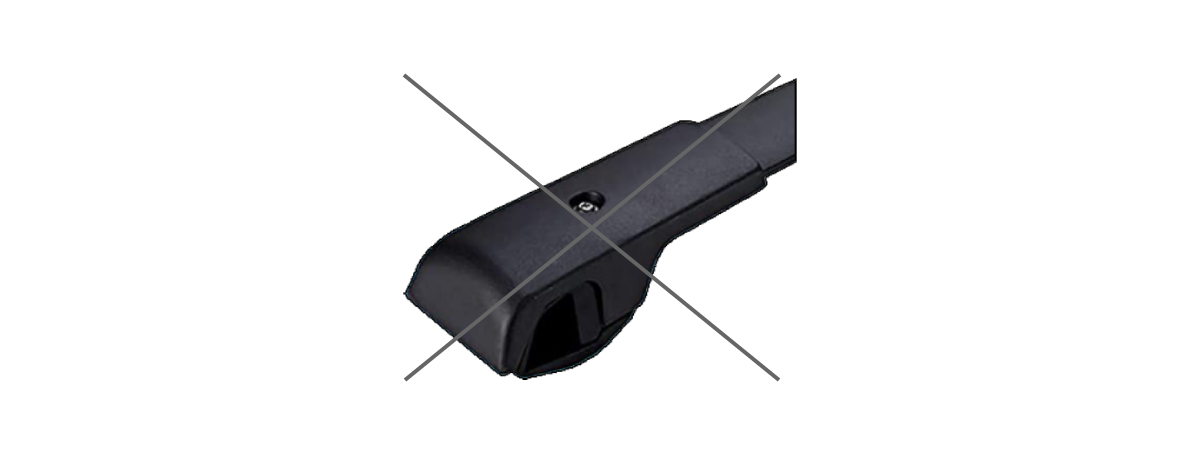
Factory Bars
Warning: Most factory crossbars do not meet the weight capacity needed for a RTT.
Search for styles: Factory Roof Mount Rack Systems

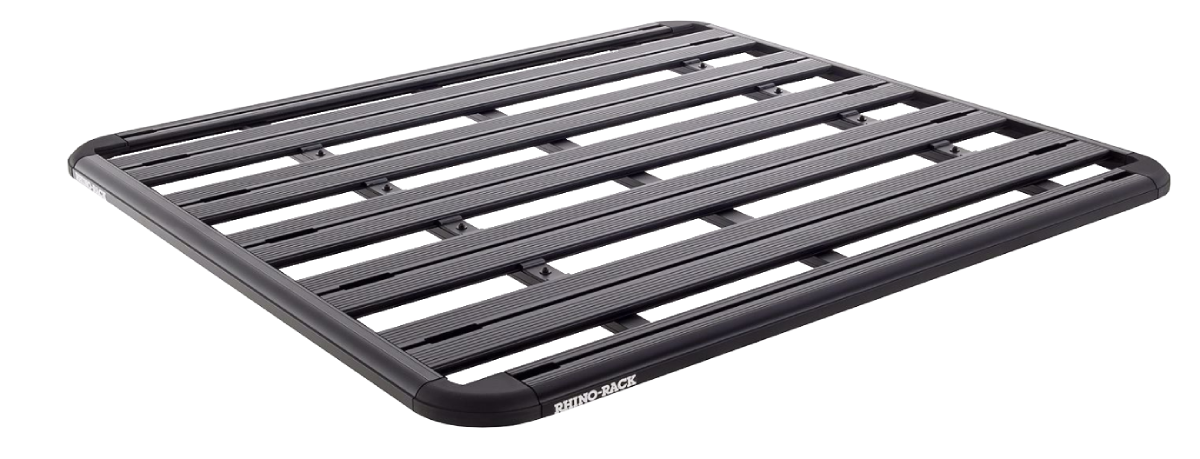
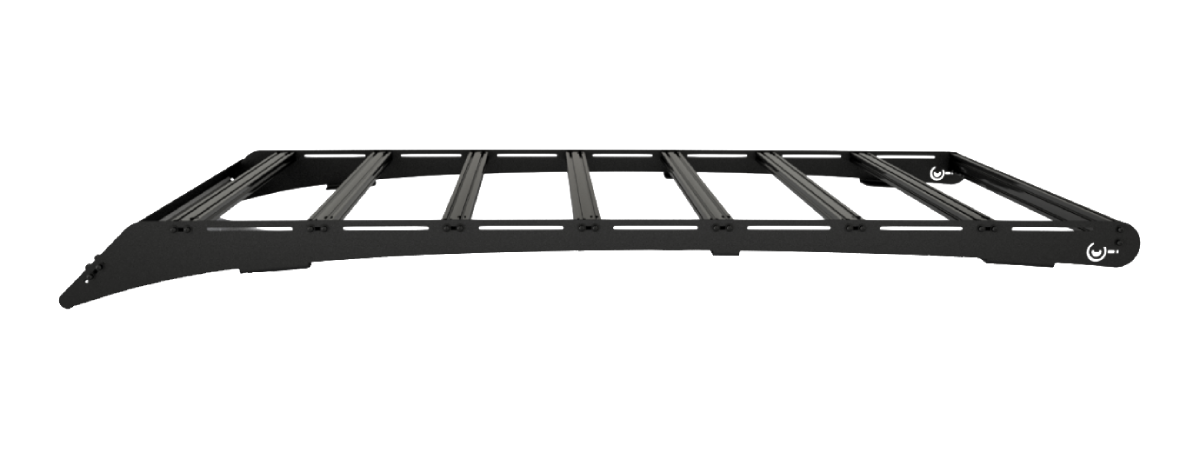
Platform Racks
Platform racks provide a greater storage surface area than crossbars, but there are two main downfalls to this option.
1) Any rooftop tent would cover the majority of a platform rack's surface area.
2) Platform racks who's bars run front to back may require drilling, extra pieces or creativity.
This is why we recommend going with crossbars first. Then, if there's room, perhaps above your cab, shop for a platform rack.
Requires drilling or extra piece(s)
Requires removal of Pieces or Whole
Check the specs!
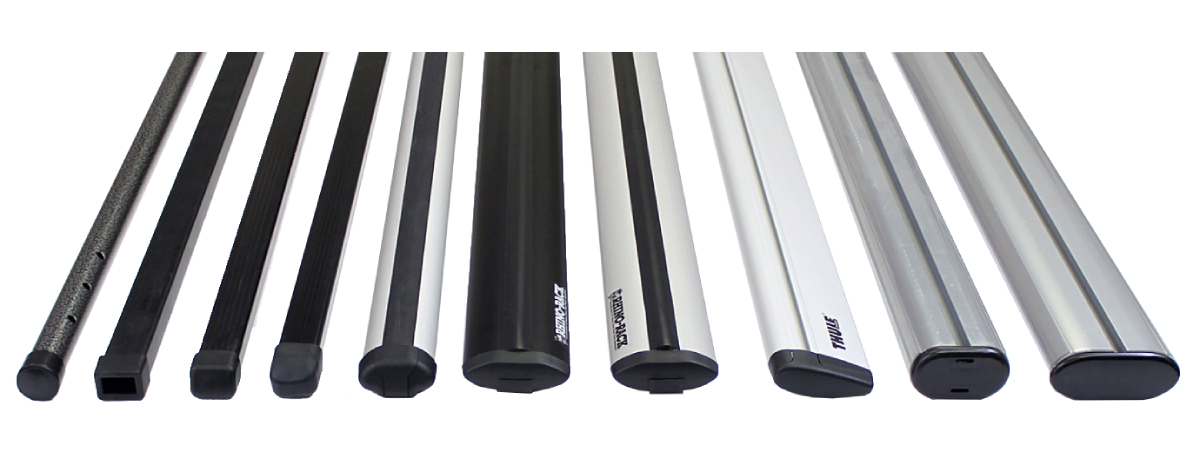
Whichever system you're considering, it's a good idea to know how big the horizontal bars are.
Here's what you'll want:
1) Bars as wide as your roof, or the vehicle.
2) A distance of 30.25" between the two crossbars for a stable mount.
3) A Bar diameter between 2" and 3.5"
4) A Dynamic weight capacity equal to or greater than the weight of your tent.
Read more about Dynamic Weight Capacity
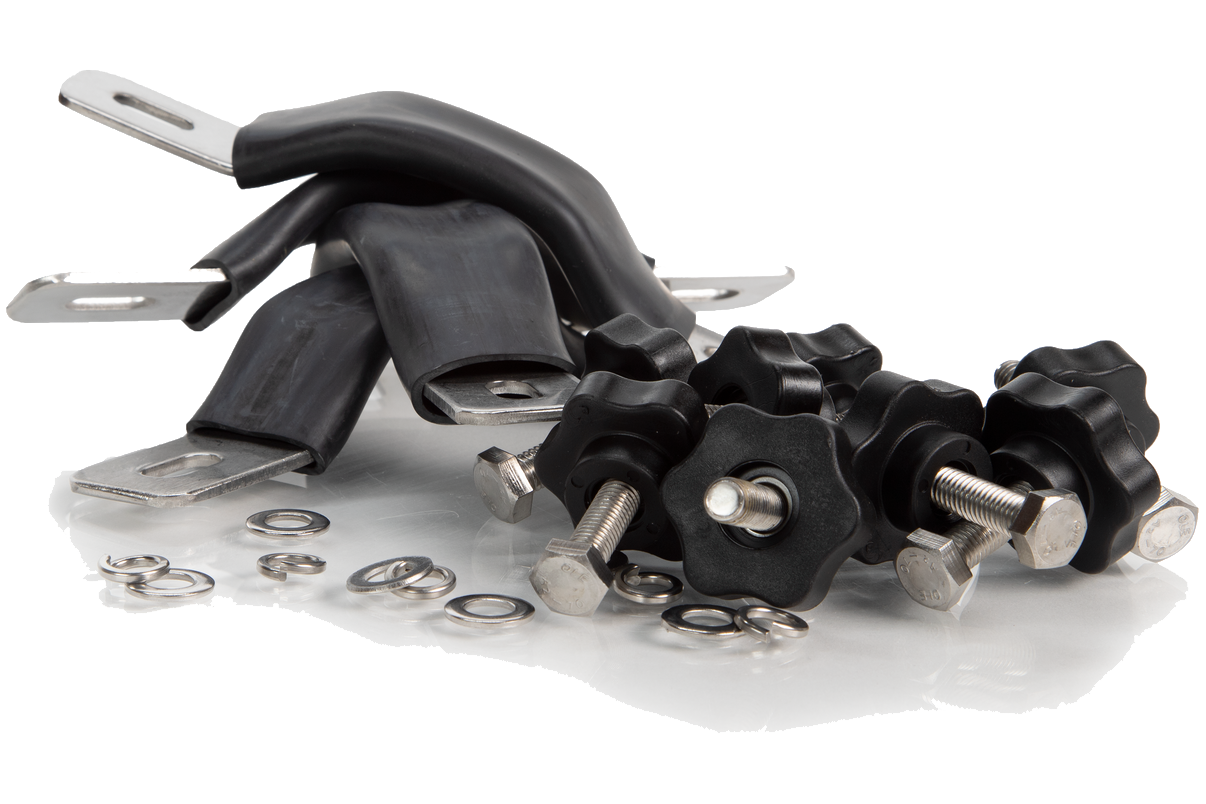
Our Mounting System
Each of our tents feature two aluminum channels that are designed to run front to back on your vehicle.
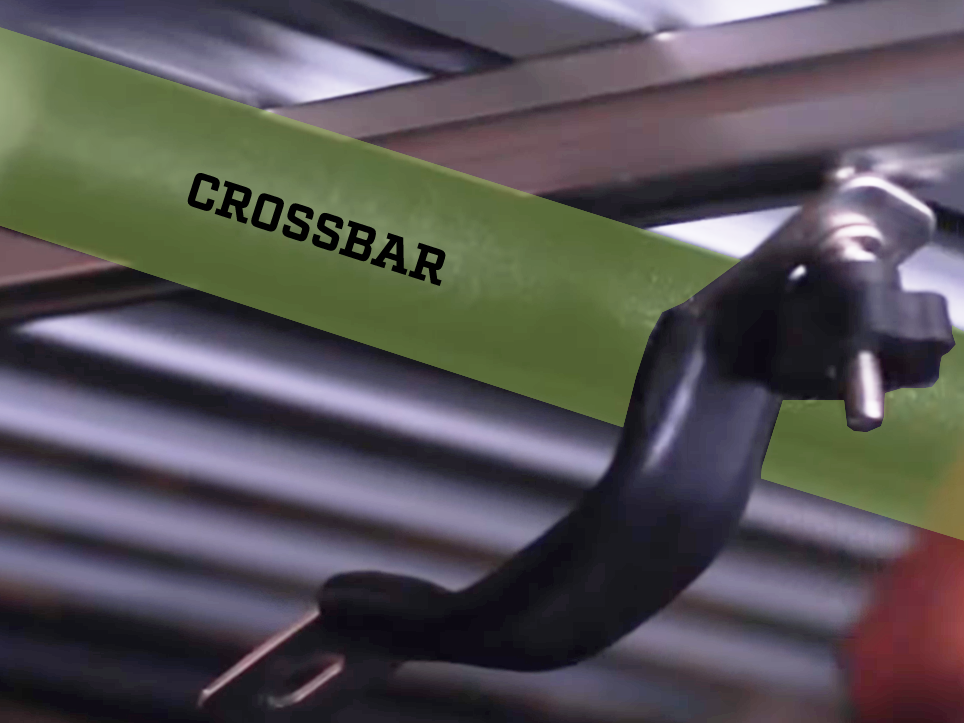
Our Expert Tip
A shortcut to installation is to start one side, then slide it through the channel from the outside of the rails inward.
In the middle of the tent's rails, there is a space to fit the other side's M8 Bolt. Now you can raise the other side of the bracket into place.
See the shortcut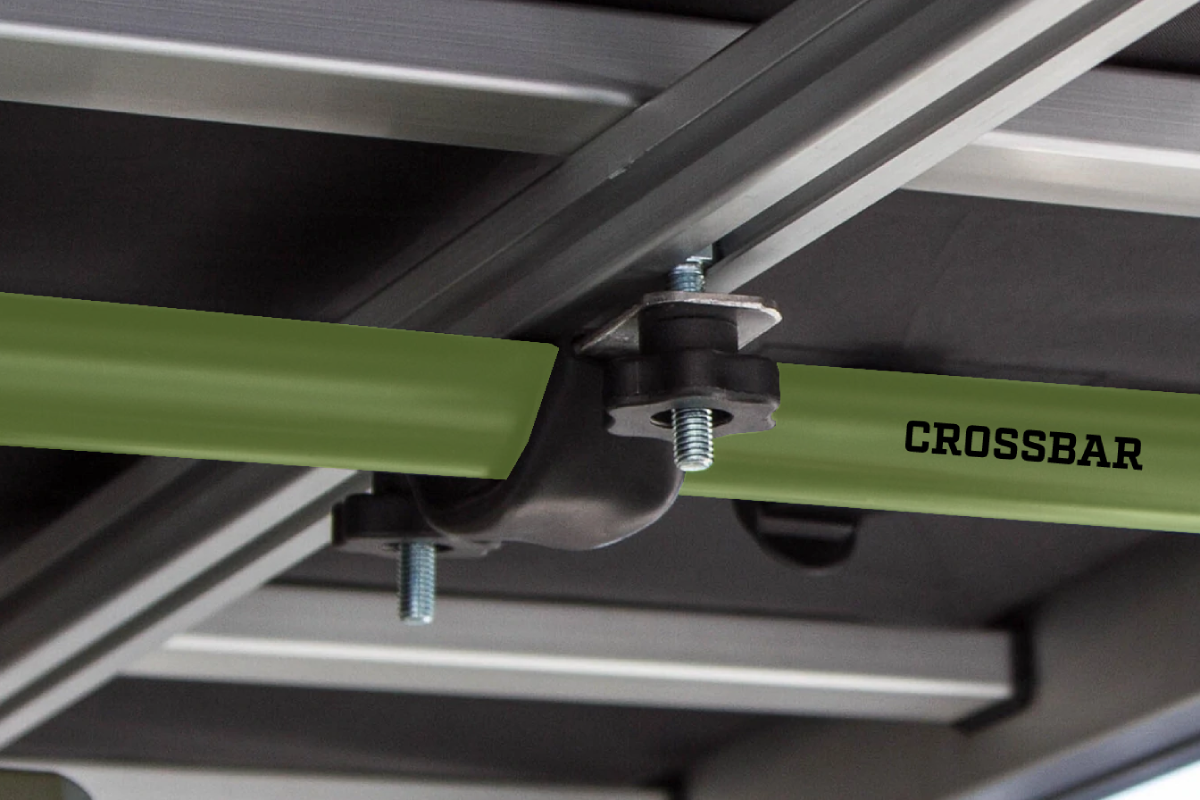
The Goal
1) Reference our universal install guide to ensure you're following the proper steps at install.
2) Balanced bracket, not leaning too far to the front or back.
3) No wiggle room between crossbar and tent rails.
Periodically check that the nylock nuts are tighten and haven't come loose due to any off-roading.

